|
This tutorial is intended to help Windows users to install a Mint virtual machine using VMware Player. In Windows 10, you may prefer to use another Linux distro, such as Ubuntu, in WSL (Windows Subsystem for Linux), so fell free to give it a try. For Ubuntu Virtual Machine, this tutorial will also help, as Ubuntu and Mint setups are similar to each other. Hope it helps! Dr. Bruno Kassar 1) Download the Mint distro of your choiceGo to linuxmint.com and download the Linux Mint distro of your choice. Without loss of generality, the tutorial will be carried out for Linux Mint 19.1 (Tessa) Cinnamon 64-bit, but can also apply to other Mint distributions and also Ubuntu distributions.2) Create a new virtual machineIn VMware Workstation Player, click on Create a New Virtual Machine. 1) Select Installer disc image file (iso):2) Click on Browse and select the iso file which you have just downloaded from the Mint website.  3) Click on Next. Select the Guest Operating SystemHelp VMware identify the OS.1) Select Linux 2) Select Ubuntu 64-bit.  3) Click on Next. Rename the Operating System1) Select a name of your choice for the VM.2) Select a Folder in which the VM will be stored.  3) Click on Next. Configure VM storage1) Specify the maximum allowed disk size for the VM storage.2) Select either single or multiple files to stored the VM. 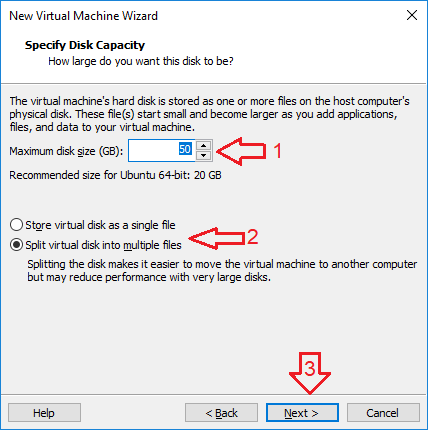 3) Click on Next. Ready to Create the VMYou can either click on Finish to create the Virtual Machine, or Customize the Hardware first. If you do not customize the hardware at this stage, do not worry, as you can do it later. Click on Finish. 3) Customize the VMOn the main dialog, select the newly created VM and click on Edit virtual machine settings on the bottom right.The default settings may not be the best for your needs, so let us edit it. Customize the RAM memoryThe default RAM memory is 1Gb. Here, I will set it to 4Gb, as depicted below.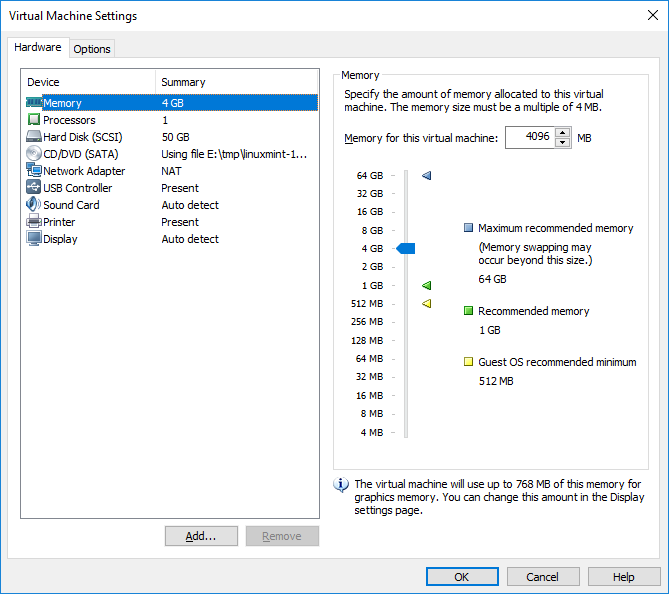 Customize the Number of CoresThe default number of processors if 1. Here I will edit it to allow 4 processors.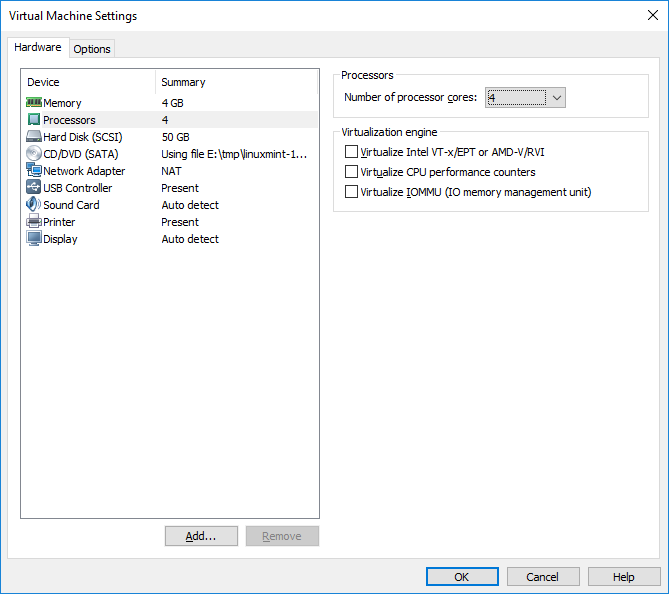 Share Windows Folders with the VMIn the example, I will share the D:/ drive with the Virtual Machine. 1) Go to the TAB Options2) Select Shared Folders on the left tree 3) Select Always enabled 4) Click on Add... 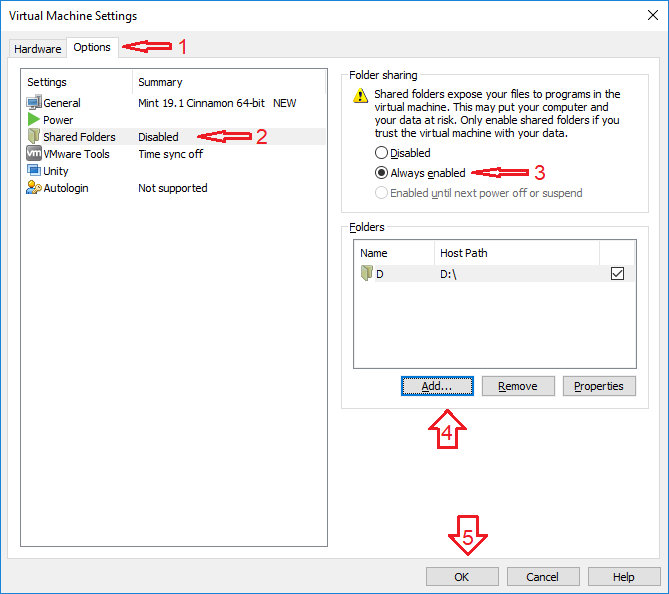 Hit the OK button. 4) Install MintIn the VMware main dialog, click on Play virtual machine. VMware will start the VM for the first time.Double-click on the CD icon Install Linux Mint.  Select your preferred OS language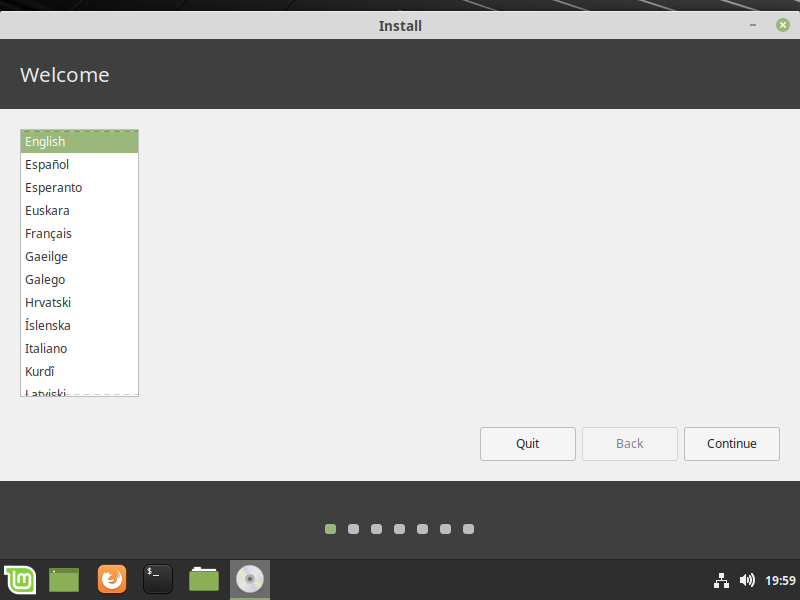 Select your keyboard format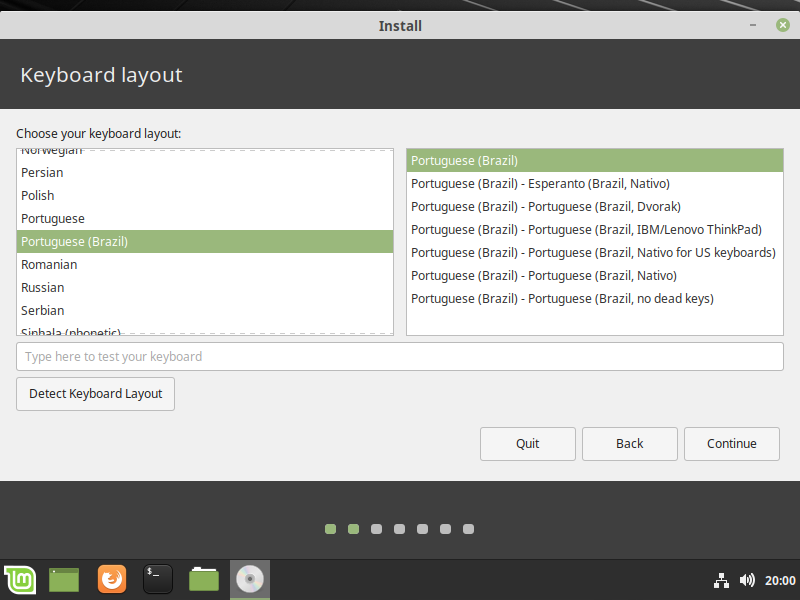 Optionally install third-party software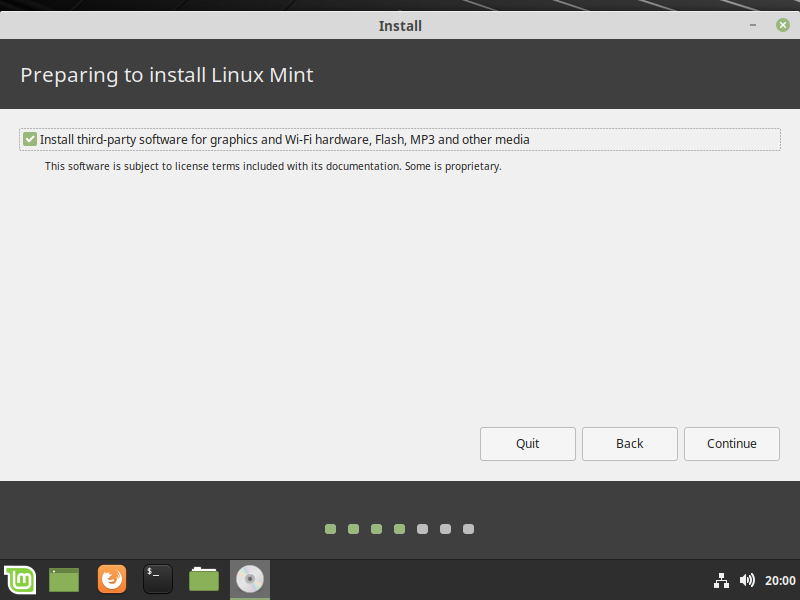 Install NowLeave the option Erase disk and install Linux Mint. Do not worry, the disk to be erased is the disk managed by the virtual machine.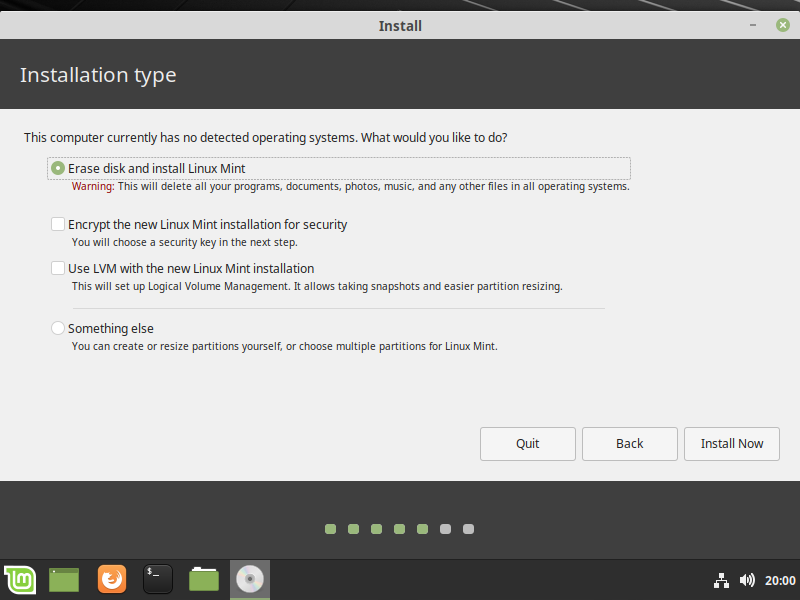 Hit Continue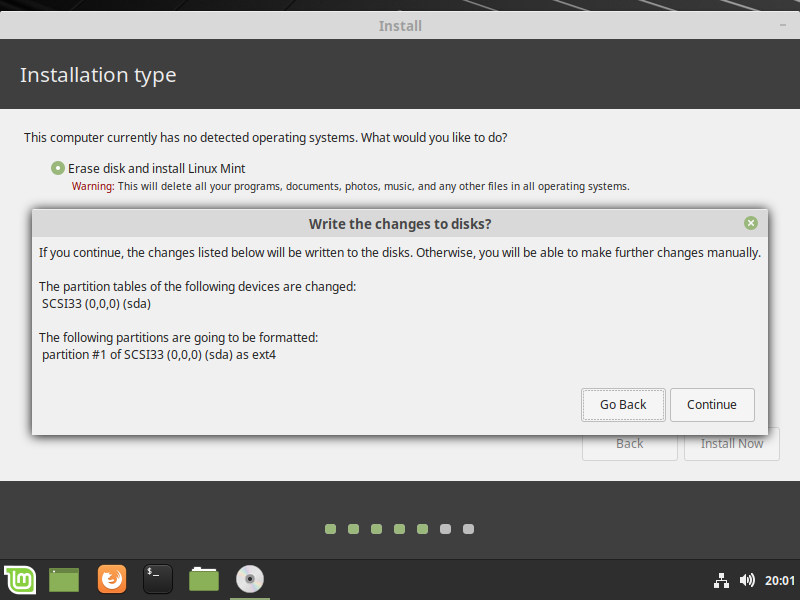 Select your timezone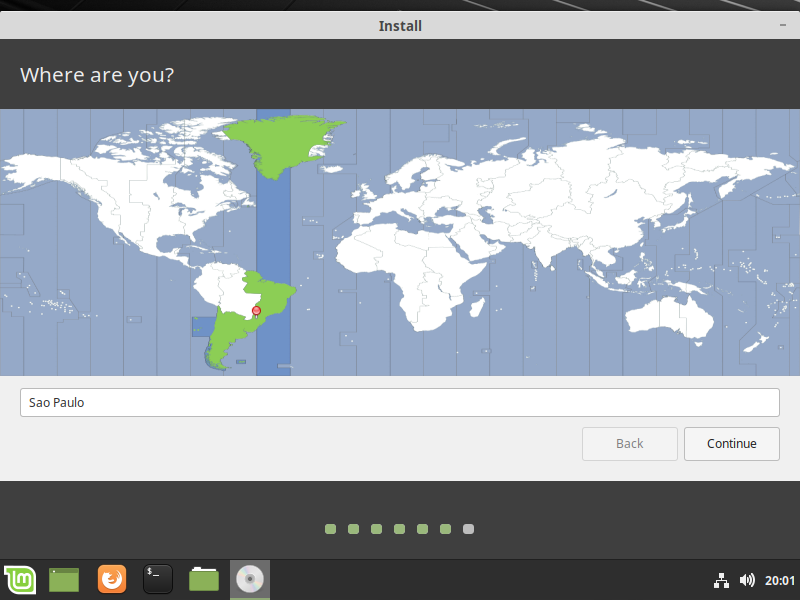 Identify yourself and the machine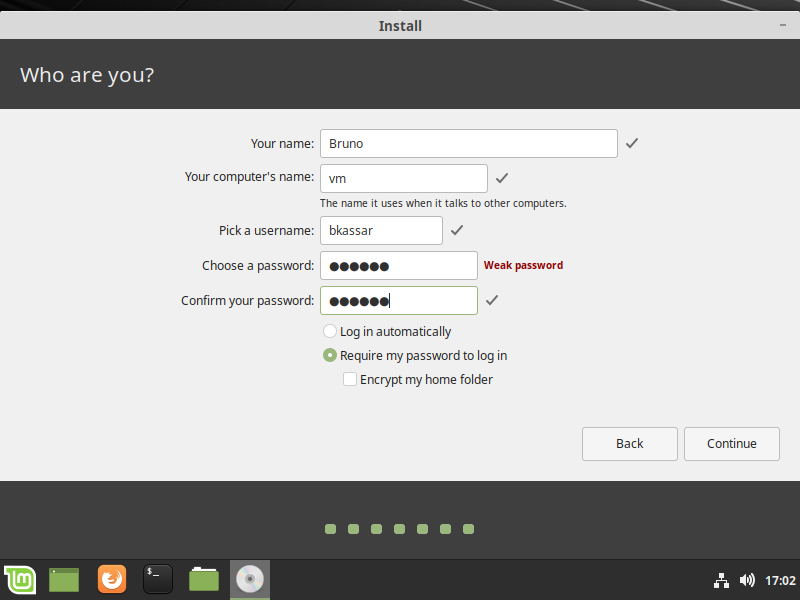 Restart Mint Hit Enter on the keyboard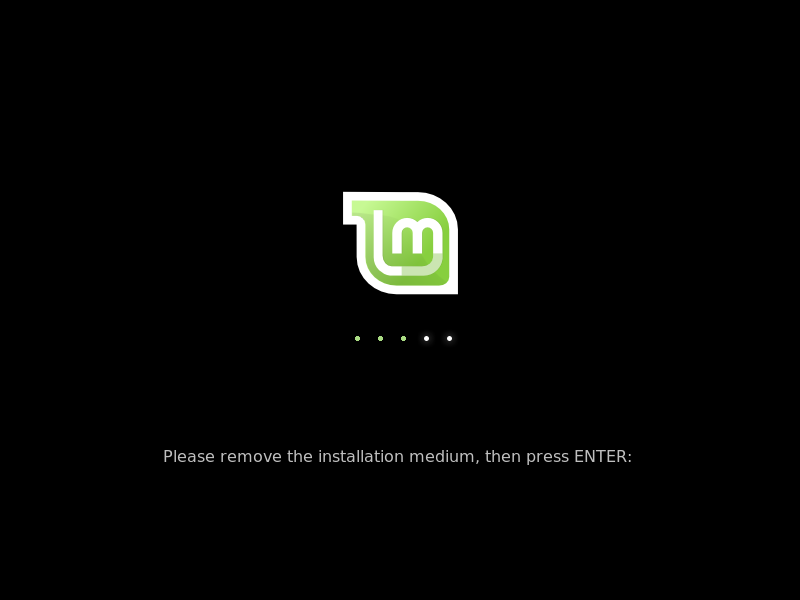 5) Install VMware ToolsLogin back to Mint and select Player->Manage->Install VMware Tools.... Extract the tar.gz file onto the Desktop. 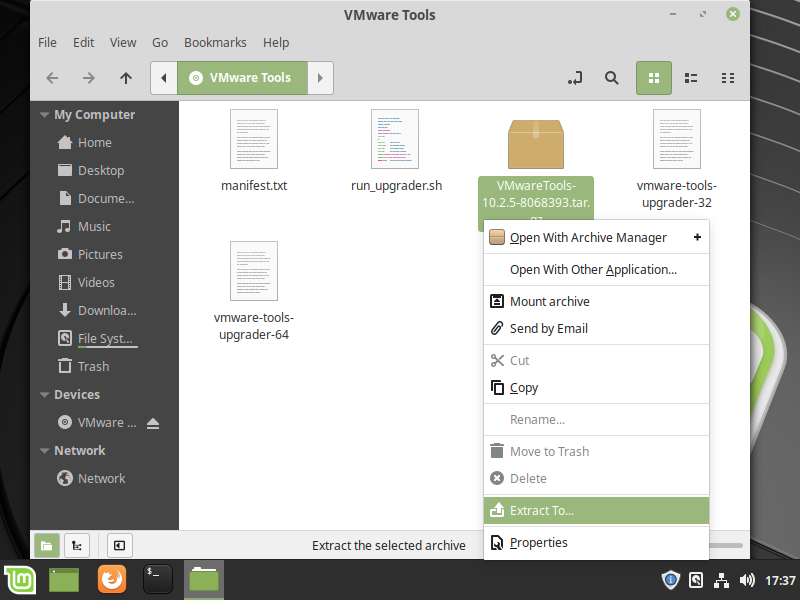 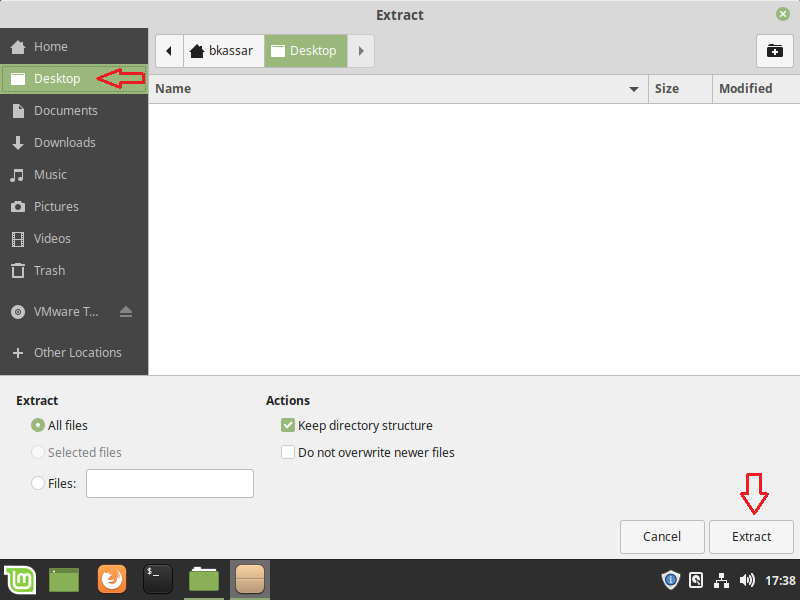 Double-click on the folder just created on the Desktop.  Right-click on the background and select Open in Terminal.  On the terminal, type: sudo ./vmware-install.pl If you desire to use the default settings (recommended), type: sudo ./vmware-install.pl -d 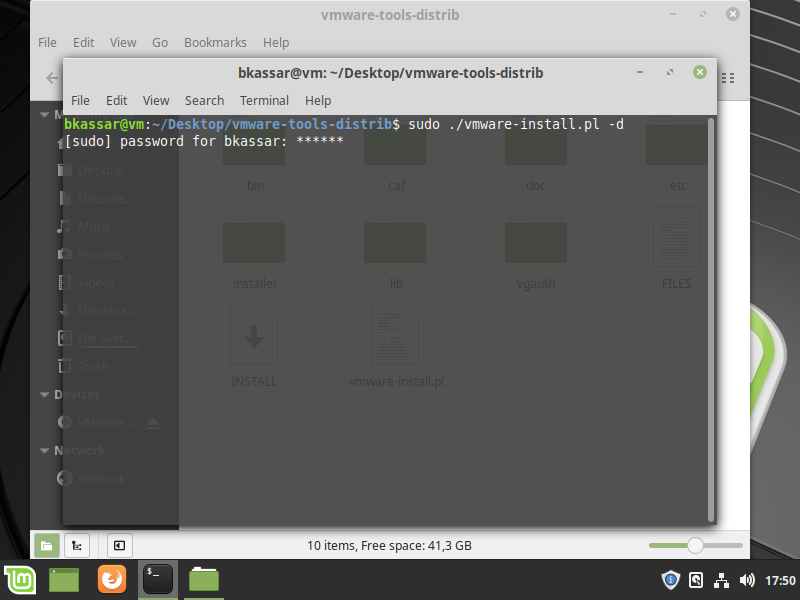 6) Access the Shared FoldersIn the terminal, go to /mnt/hgfs/. You will find the shared folders there. You may create a symbolic link for each folder to simplify the access. In the example, the shared folder is named D. A symbolic link to it in the HOME directory may be created with the following command:ln -s /mnt/hgfs/D/ ~/d 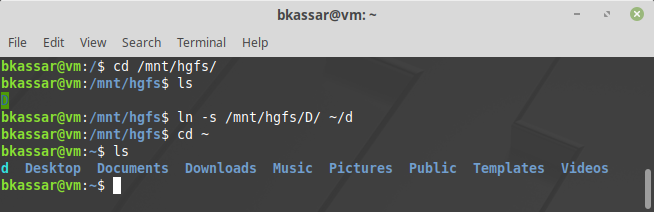 Hope this tutorial helps. cheers, Bruno |
